/key industries
partners /
Your strategic partner in retail, mindit.io ensures innovative, streamlined operations tailored to your unique challenges.
product /
Engineering cutting-edge products designed explicitly for retailers, blending the latest technological advancements with industry best practices.
purpose /
Navigating with purpose through the dynamic retail landscape, exceeding expectations with solutions that drive efficiency and create unforgettable shopping experiences.

/our services

From customized software for resource planning to customer relationship management and advanced data analytics tools, we create applications perfectly adapted to your business's unique needs.

mindit.io specializes in the mastery of crafting Software Products. With a fusion of visionary thinking and technical prowess, we embark on a journey to transform your concepts into impactful realities.

Unleash your business potential with our data services. From predictive analytics to data governance, we're your partner in informed decisions.

Unlock smarter business with AI - predicting trends, automating tasks, optimizing processes, and creating content that speaks. Let's innovate together and make your business future-ready!

Our Integration service transforms complexity into cohesion. We assess, create interfaces, implement middleware, ensure compatibility, and test rigorously.

Our support teams consist of support engineers, developers, and team managers who supervise a process in which time and communication are essential.
/ ai offering

Innovate using Large Language Models (LLMs) and Generative AI, where creativity paired with advanced reasoning capabilities matches human ingenuity.

Turn data into your most valuable asset by transforming raw data into actionable insights, enabling data-driven decision making, and laying the foundation of any AI system.

Scalability meets security and cost-efficiency as custom AI solutions are designed to meet your unique business needs.

Build trust in AI with our commitment to fairness, transparency, and accountability ensuring that technology is responsible, ethical, and designed for the benefit of all.

Ensuring that AI solutions are not only deployed but also continuously monitored and improved, keeping your operations at the forefront of innovation.
/success stories
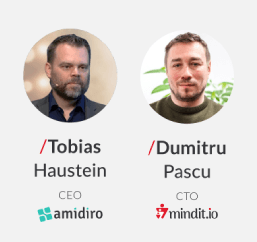
/the right partner
Discovers needs, embraces challenges
Delivers an impact
Focuses on business growth


/landmark projects
/why choose us?
>140
successful projects delivered last year
17
enterprise customers
>250
professional engineers
4
worldwide offices in Switzerland & CEE
4.9
Clutch.co Rating
AI Sandwich: From Long Term AI Strategy to Quick Wins with RAG
April 25 / Online
/awards
97%
Great Place to Work Statement
92%
Average of All Statements
84%
NPS (Net Promoter Score)

/blog
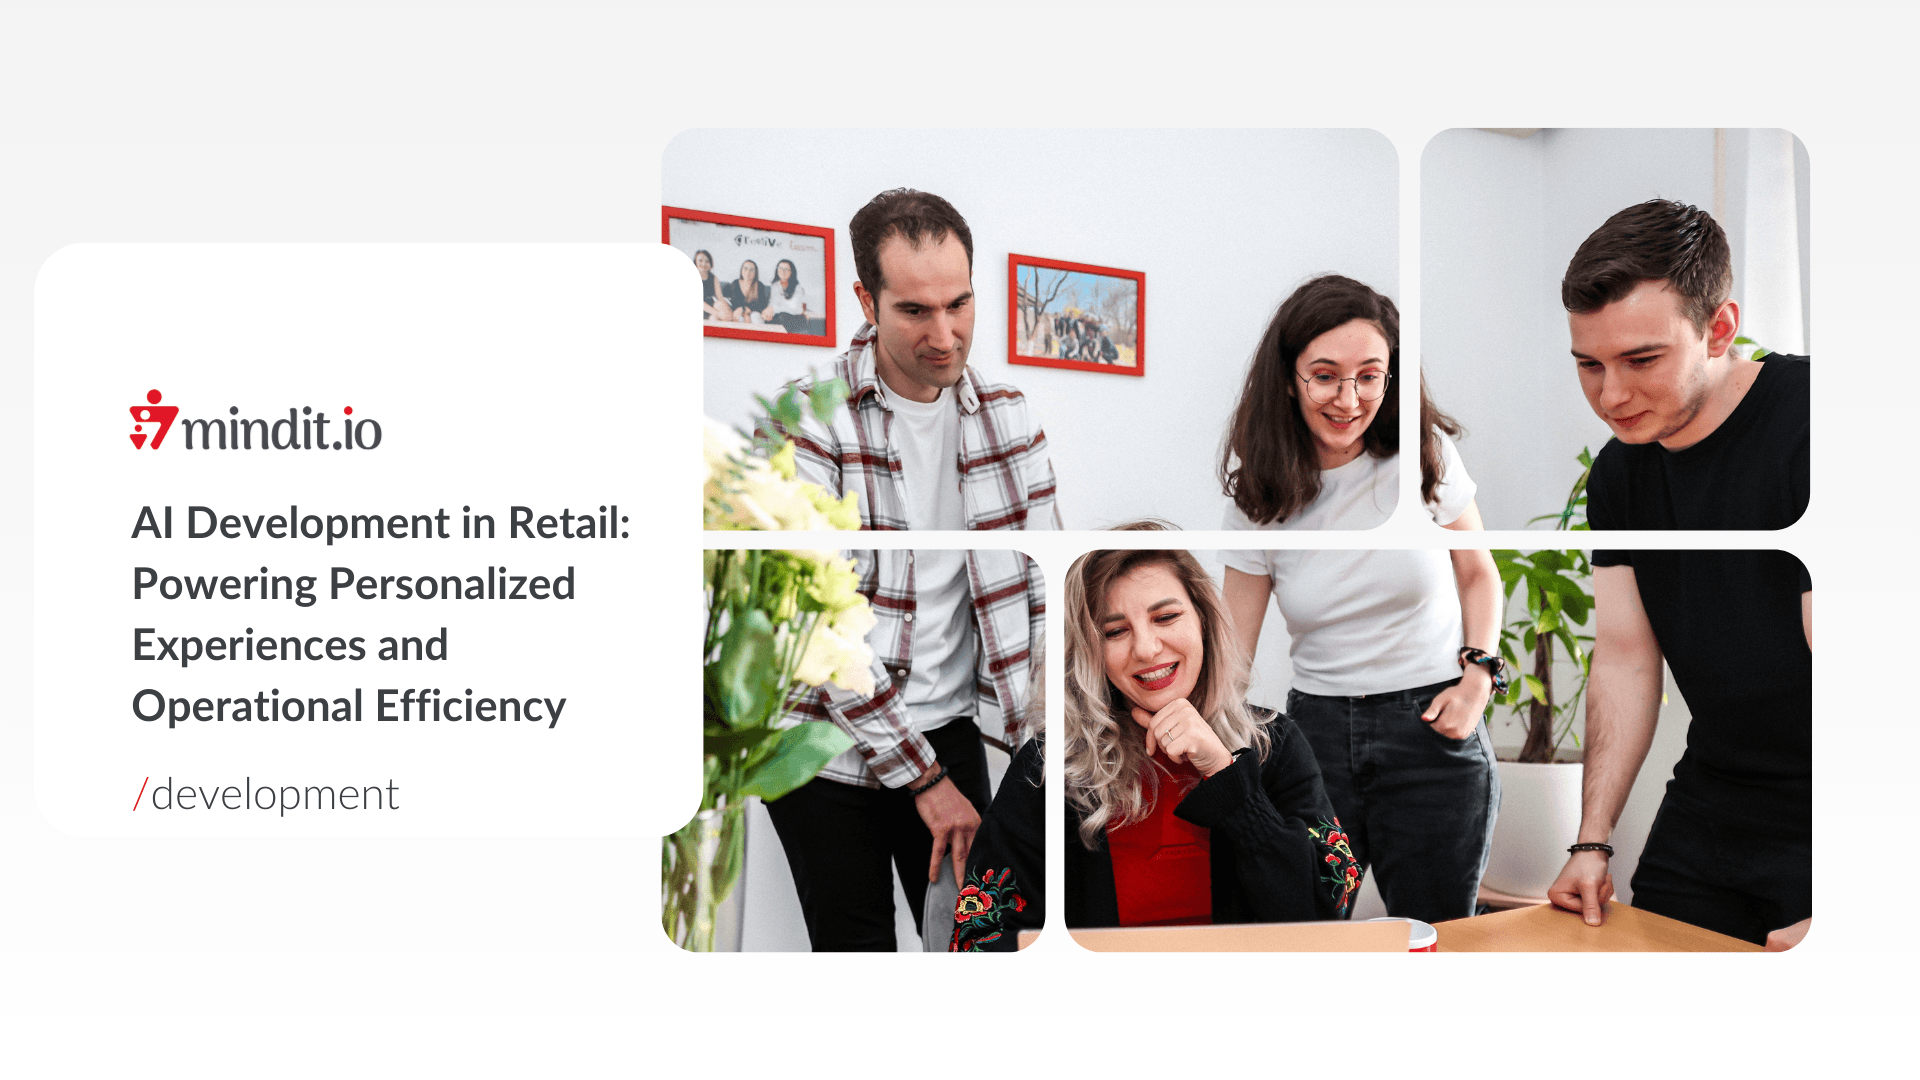
AI Development in Retail: Powering Personalized Experiences and Operational Efficiency

Revolutionizing the Plant-Based Food Industry: The Digital Configurator

Embracing Digitalization: A Path to Sustainable Solutions